by Arithon
Basing tutorial
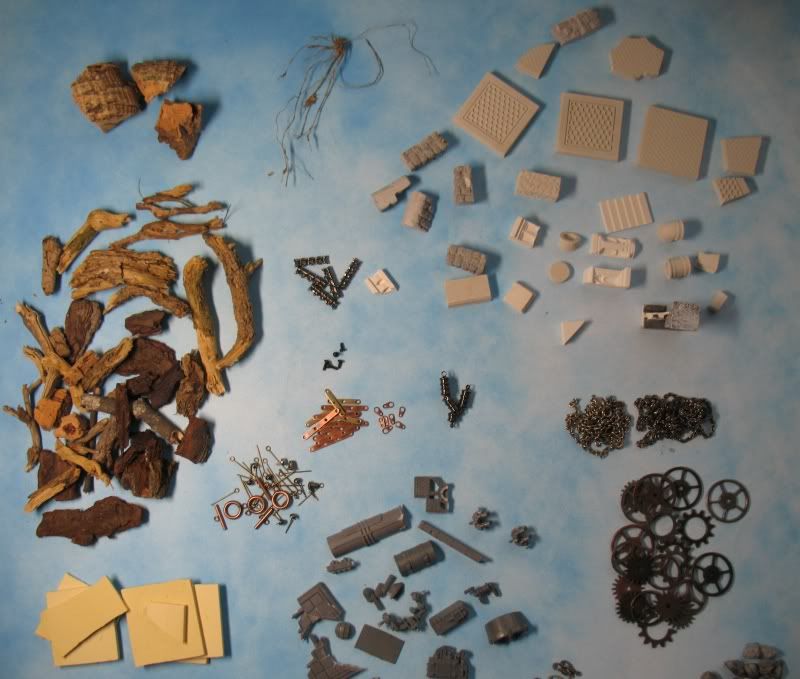
This is just a little tutorial on how I build my bases and includes some of materials that I commonly use. It is important to note that I have found a few things that are keys points for basing I think. Firstly setting is important- for these I have gone for a bushland/ warzone type of area, it isn’t perfect by far but suits doing things like mass miniature bases. Secondly the having a variety of materials/ textures help both with painting and makes the base interesting. Nearly anything that can be used for basing either natural products such as twigs and pine bark to other bits and pieces. The main thing I use to keep this altogether is kneadit epoxy putty. I buy this form my local hardware store and it costs about $20 for a 25cm roll but to base all these miniatures only took half a roll. It sets very rapidly and can be worked with a sculpting tool dipped into a bit of water. It isn’t really suitable for sculpting but is great for basing or even filler in other larger metal miniature projects.
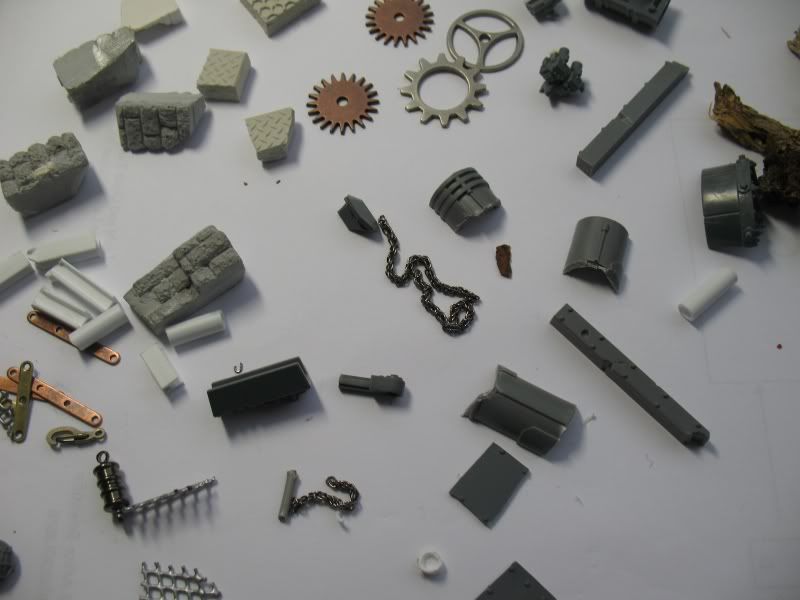
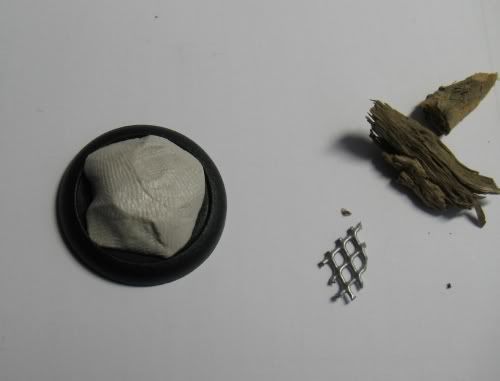
Firstly I pick items that I think might fit the base like small rocks, bits of wood (pine bark is great), hirst blocks (plaster) and in this case a cog. Now the key to keeping everything together is knead it putty. This is two parts epoxy putty that is commonly used in filling gaps in building. You just cut off a small piece as show and then place a small ball on the centre of the base (no glue is need in most cases), now you have to work quickly and place the materials into this putty. Once placed (no glue again), just use your sculpting tool (knife end), to move it around and tighten it up between the gaps and any overhang that you don’t want. To make it easier to work just dip the putty in water so it does stick to your hands or the tool. Be quick though this stuff sets rock hard in five minutes. Once finished add some PVA glue in some of the joins and add any sand you might want for added texture but use a brush for more control. Finally add sand. The miniature is finally added by pinning to the base- all these materials can be drill very easily and then attach the miniature with super glue. If it does fit perfectly- either build it up a bit around the feet with small pieces of rock or something else you think might fit.
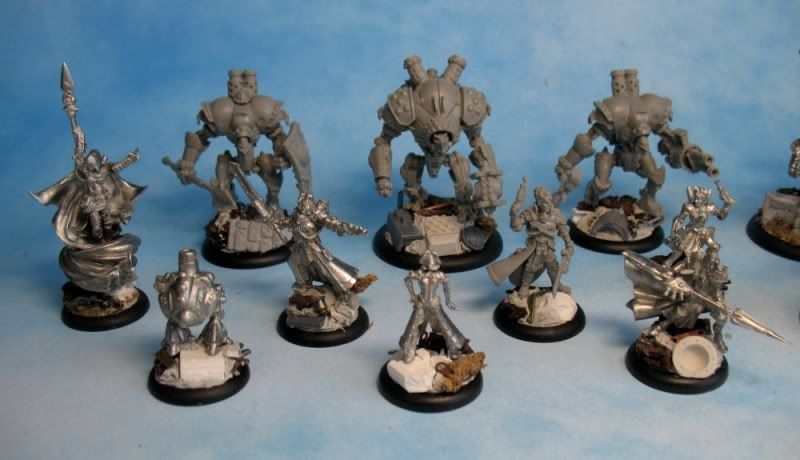
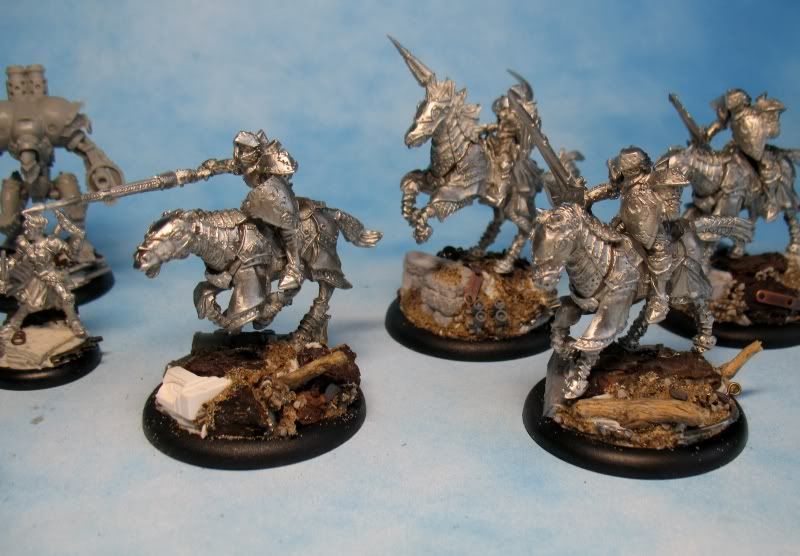
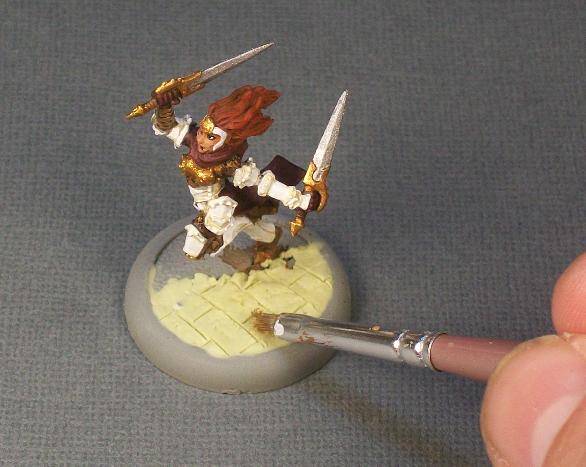
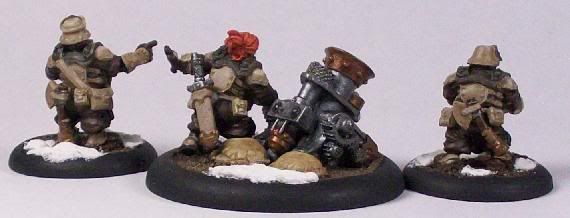
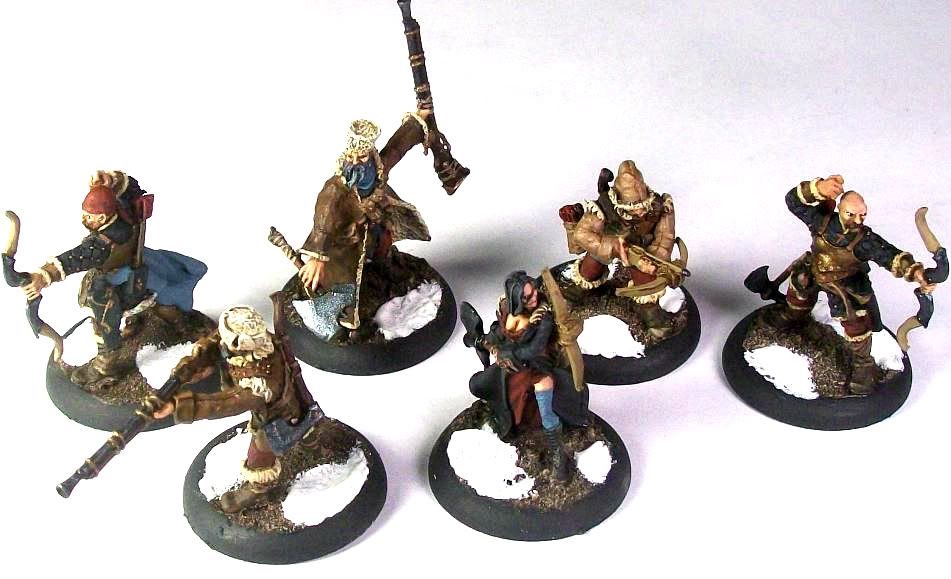
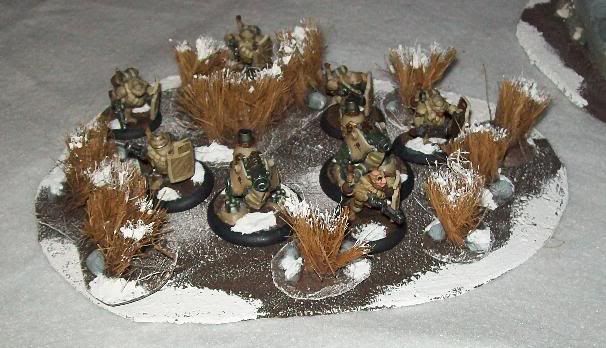
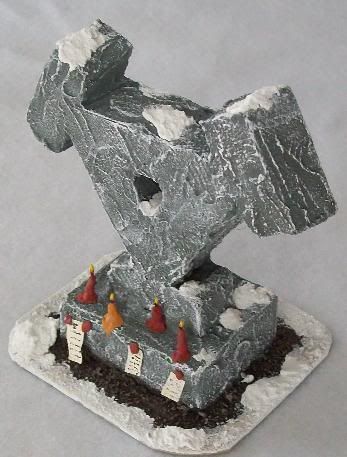
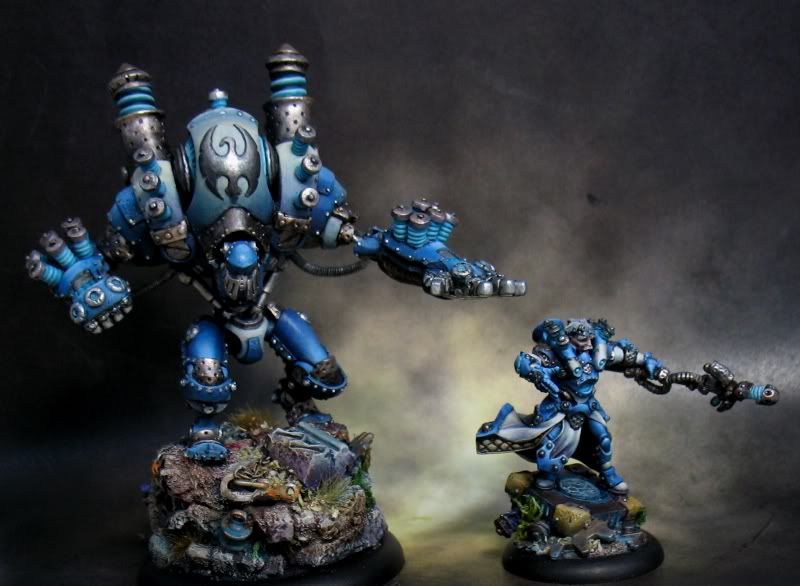
Examples of finished project's that I did earlier this year......

Basing tutorial
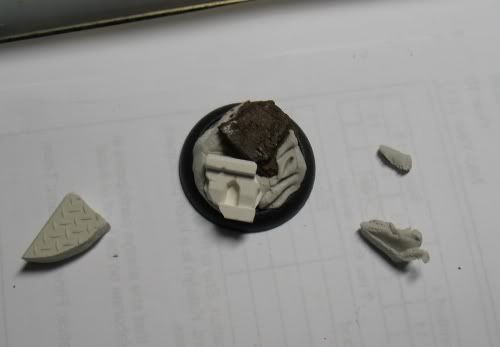
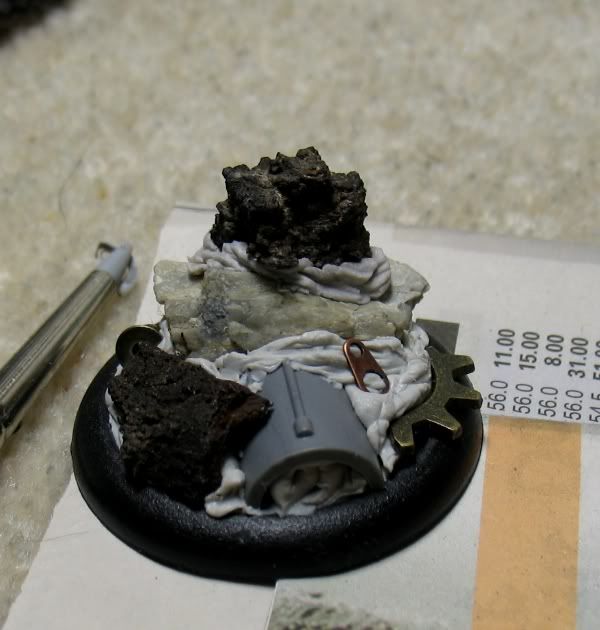
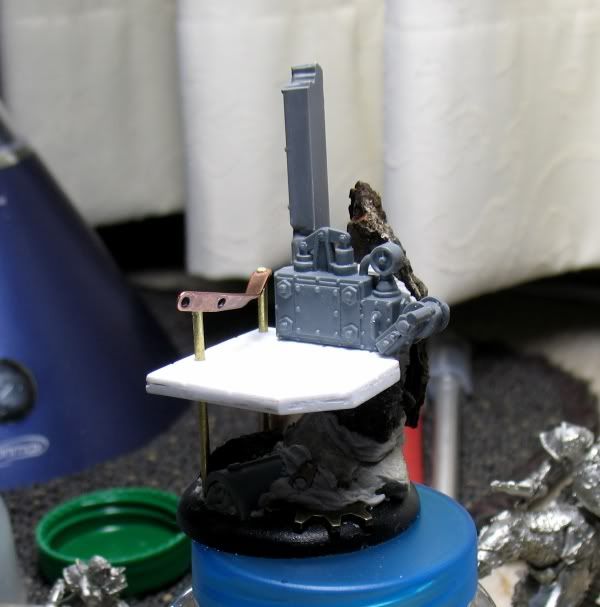
This is just a little tutorial on how I build my bases and includes some of materials that I commonly use. It is important to note that I have found a few things that are keys points for basing I think. Firstly setting is important- for these I have gone for a bushland/ warzone type of area, it isn’t perfect by far but suits doing things like mass miniature bases. Secondly the having a variety of materials/ textures help both with painting and makes the base interesting. Nearly anything that can be used for basing either natural products such as twigs and pine bark to other bits and pieces. The main thing I use to keep this altogether is kneadit epoxy putty. I buy this form my local hardware store and it costs about $20 for a 25cm roll but to base all these miniatures only took half a roll. It sets very rapidly and can be worked with a sculpting tool dipped into a bit of water. It isn’t really suitable for sculpting but is great for basing or even filler in other larger metal miniature projects.
Firstly I pick items that I think might fit the base like small rocks, bits of wood (pine bark is great), hirst blocks (plaster) and in this case a cog. Now the key to keeping everything together is knead it putty. This is two parts epoxy putty that is commonly used in filling gaps in building. You just cut off a small piece as show and then place a small ball on the centre of the base (no glue is need in most cases), now you have to work quickly and place the materials into this putty. Once placed (no glue again), just use your sculpting tool (knife end), to move it around and tighten it up between the gaps and any overhang that you don’t want. To make it easier to work just dip the putty in water so it does stick to your hands or the tool. Be quick though this stuff sets rock hard in five minutes. Once finished add some PVA glue in some of the joins and add any sand you might want for added texture but use a brush for more control. Finally add sand. The miniature is finally added by pinning to the base- all these materials can be drill very easily and then attach the miniature with super glue. If it does fit perfectly- either build it up a bit around the feet with small pieces of rock or something else you think might fit.


Examples of finished project's that I did earlier this year......