Once the texture paste is dry, it was time to start painting (or drybrushing)
First I did a layer of dark grey, then mid grey, and finally light grey. Last touch was done with almost pure white. The card was also painted dark grey, and later on stippled with lighter grey (not shown in the photos unfortunately).
The exact colors i used are:
1. Dark Grey = codex grey : chaos black : ultramarine blue in 2:1:1 ratio
2. Mid grey = codex grey : ultramarine blue in 2:1 ratio
3. Light grey = codex grey : ultramarine blue : skull white in 2:1:1 ratio
The light grey is curiously similar to Space Wolves Grey, so I guess i could have used that as well. The actual paint used is Americana craft acrylic paint that I use for all bulk work. Codex grey is called Slate Gray, and Chaos Black is Lamp Black in that rage. Ultramarine blue is still Ultramarine (smurf) blue
When the bases were all drybrushed and nice, I painted the rims in pure black, drilled pins for each model, and stuck them on the base.
The snow product used is the Army Painter Battlefields show mixed with generic white pva glue
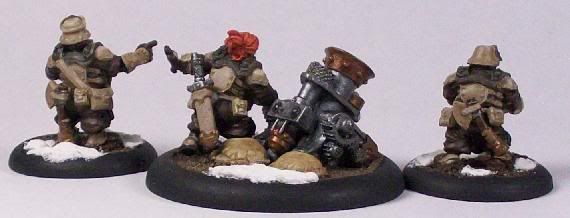
I applied the snow paste in a blob. spread it with a wooden spatula, and once I was happy with how it looks, I just dipped it in snow flock tub. The results are pretty nice as you can see :)
This would sum up the tutorial for 25mm snow bases :)
Taken as-is from my blog. Even though Gareson doesn't really like the models I use here, or the company that makes them, I love to play around with them :)
When working with 25mm bases, there is not much to do with them, considering their small size, and the way most models connect to them, effectively taking 30% of the surface, or even more.
For this squad of Space Wolves I decided to make simple rough terrain covered with snow.
The first and most important part is to make raised for the minis, so they dont look like they are sinking into the ground.
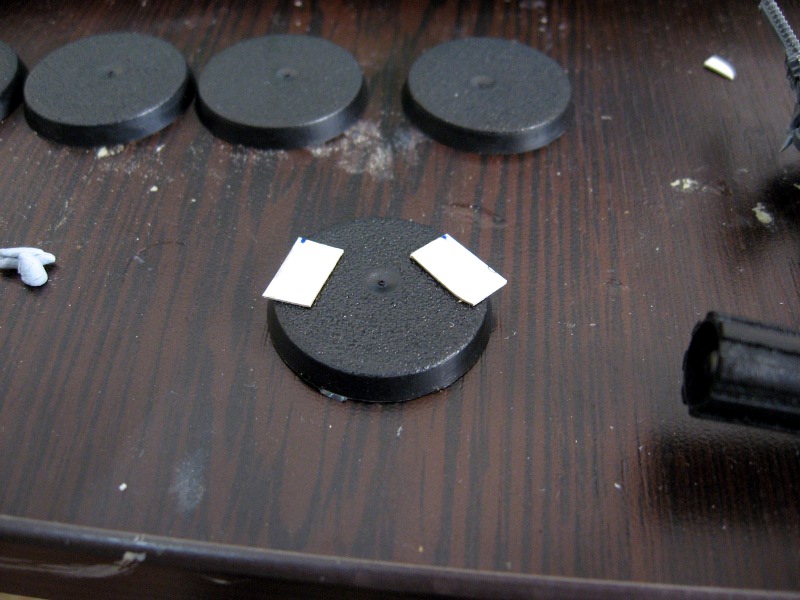
I start it off with the bases, and a strip of card cut from the super glue packaging (recycle as much as you can is my moto!)
To position it all i Use little blobs of blu-tack on the model's feet
Stick the card squares that more or less match the size of model feet
And glue it to the base.
Remove the model, remove the blu-tack, and you have your base with the raiser.
Finally just trim the raiser to fit the base
Here are all of the bases with their raisers:
One of the reasons I take these photos, is to easily match the model to its base once the bases are done :)
The texture on the bases is done with some simple textured craft paint. I use the black one since its easily drybrushed to lighter shade, and black out of the box is a very good to simulate paved roads:
And here are some bases with the texture applied. Now just to wait for the texture to dry, and I can go on painting and applying snow :)
by Gareson
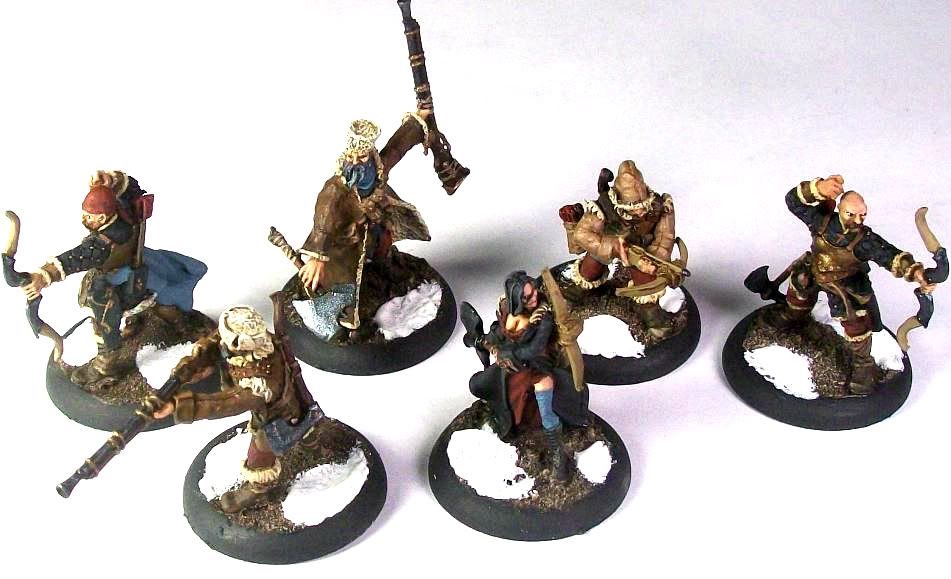
There are many options for gamers when it comes to simulating snow effects on miniature bases; personally, I like taking the homemade route. With a few minutes and a few inexpensive supplies, you can create effects such as these...
(click on any images below for larger pictures)
The materials you'll need for this project are few(and cheap!):
~Baking Soda
~White Glue(such as Elmer's)
~White Paint(preferably inexpensive craft paint)
~Container for Mixing(old blister or dixie cup, etc.)
~stick(or paint brush) for mixing
~old paint brush
Before going on, I must warn: do not leave out the paint! It might seem excessive as the baking soda and glue are white(the color of snow to the eye!), and, your mix would even be white without the paint. However, after a couple of weeks the snow will yellow as it oxidizes...and of course yellow snow is something different entirely(maybe appropriate for Khadoran War Dog basing). Including the paint prevent this.
Creating the Snow: Well this is a little more art than science, but I like a mixture of 2 parts baking soda to 1 part glue and 1 part paint. Now you may have to experiment a little bit to get the snow you way YOU want it...but that's part of the beauty of this approach(you can customize the look). Generally if you use too much of the liquids(glue and paint), your snow will be a little runny. If you use too much baking soda, it will be dry and flaky. The happy middle is a mixture which is somewhat moist(like a paste) but still has the visible grain of the baking soda(to simulate tiny flakes). If you are on the "wet" side, just mix in more baking soda until you have a consistency you like. Don't be afraid to apply your mix to cardboard or other scrap to judge the effect to make sure you are happy with the snow. For this tutorial, my batch looked like this....
This small batch would easily accommodate over 30 bases...a little
goes a long way!
For applying the snow I prefer a paint brush. No need to use a fine miniature brush...although everything here cleans up with water so it will clean up nicely afterwards. Dip the end of your small brush into the mix and, for lack of a better term, "dab" the snow onto the base where desired. Now you could cover the base in snow, or, as I prefer, leave some of the dirt texture below. Also, you can add as much snow to the base as you wish to create depth, or stroke the brush lightly across the surface of the mini base for a "dusting" of snow.
In the end my demo mini came out looking like this...
(I went for a shallow, dusting of snow)
For a brief video walk though where I mix up and apply some snow effect, you can watch the video below(double click on it to enlarge it)...
Here's the entire Kossite unit done with this effect...
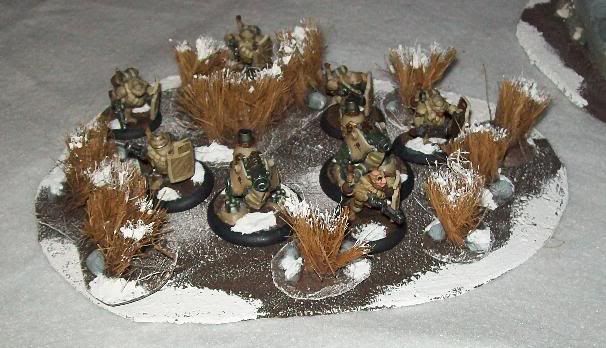
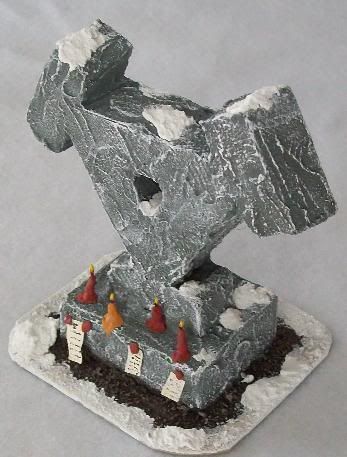
Also, this same snow mix is a great way to accessorize terrain pieces for a winter themed board as you can see on some pieces that I've done below...
Are there "fancier" ways to do snow with retail products that achieve nice results? Sure. But if you have some of the above materials on hand(or just a few dollars)...you've got yourself some snow...and you can never have too much(wait, I'm a New Yorker...yes, YOU CAN have too much!).