Here is another repost from my blog. Natural textured bases in all their glory.
This post is a bit longer since the original post was originally in five parts :)
I start with generic Privateer Press bases, and add some modeling sand (rough grain) to start off the texture
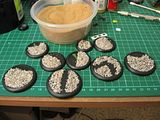
Since i plan on adding water effect to these bases, i left the areas that will hold the water clear of modeling sand, and later on it will be covered with fine grain sand to give texture beyond the flat plastic.
To soften a bit the rough texture of coarse grained modeling sand, add some fine sand on top, and take care not to cover all of the coarse stone.
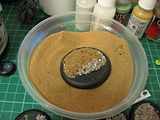
Rinse and repeat for all bases :)
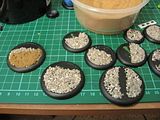

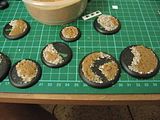

After the glue is (almost) completely dry, its time to add more detail. In this case rocks and wood.
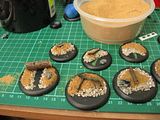

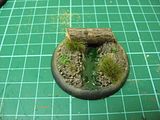
Rocks are from WH40k basing kit, and the wood are twigs collected around the house, and trimmed to size
Once the glue is dry, its time to make the added stones and wood look slightly more in place instead of just carelessly being thrown on top. That will be achieved by adding glue to the edges of the objects, and sprinkling fine sand on the glue.
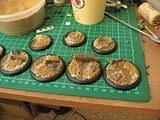

This piece turned out pretty nice :)
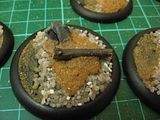
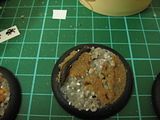
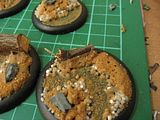
Some deeper edges will need a few more layers of glue and sand to fill up the gaps. Just a little patience ...
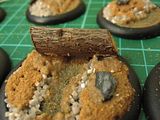
And it will look a lot better :)

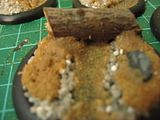
After this stage I prefer to leave everything to thoroughly dry for at least 12 hours.
Its paint time! :)
Its still very basic, but the idea is to literally drown the base with a dark brown color. This has to be done because the materials used are very porous, and we dont want any sand color showing through. Non painted areas will be base coated with green for still water effect :)
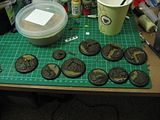
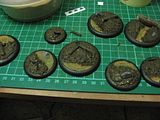
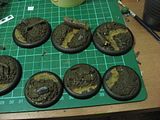
This piece here is a test piece for some home made dark brown wash. For now it looks like it works good :) (and this same wash will be used later on ofcourse :)

And if anyone wondered how my desk looks like, here it is in all its glory :)
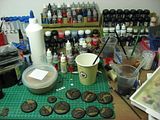
Once the paint was dry, the base is progressively highlighted toward bleached bone, using sable brown, honey brown, moon yellow and finally bleached bone (of vallejo variety. The rest of the paints are mu sturdy Americana)

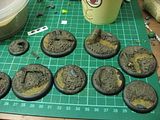
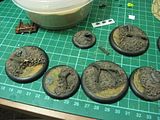

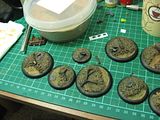
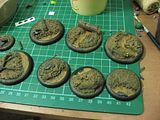
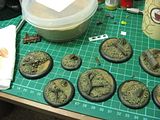
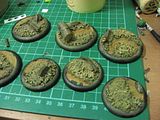
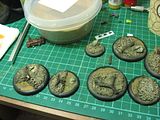

And to soften everything up I added liberal amounts of my home-made wash :)
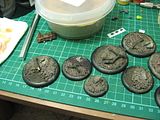
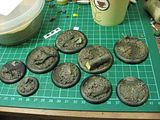
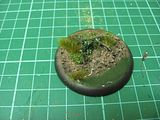
After the painting part its time to fit the figures to their bases. In some cases the mini will stand on the base without any problems, and in other cases I needed to use green stuff to make the pose look more natural. After the green stuff hardens it will be painted, and masked off with static grass. The stream/pond beds are also painted green (in this case Dark Angels Green from GW)
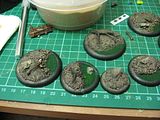

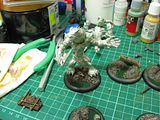
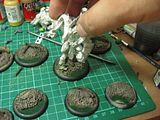
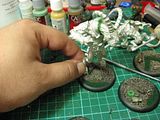

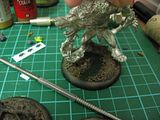
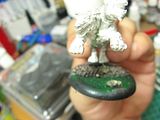
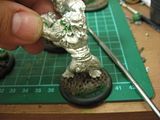
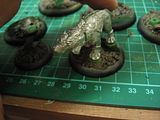
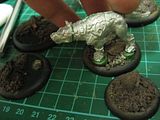
Taking photos of each base with its model is a nice reference for the future. No need to go guessing which figure goes to which base :)
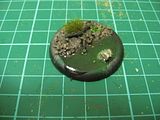
And once the paint was dry and the green stuff was mostly cured, it was time to add the water to my streams and puddles.
I used Envirotex Lite, mixed as instructed in 1:1 ratio, covered the whole work area with a nylon bag, and started carefuly pouring the mix. If some of the mix gets on the lip of the base its fine. it can always be painted over :)
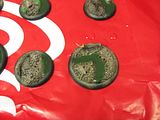
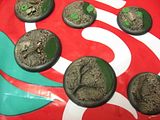
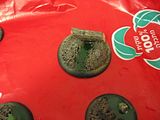
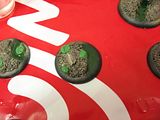
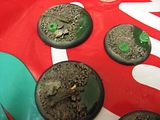
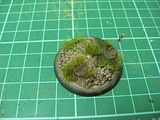
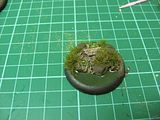
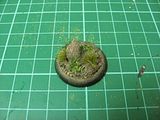
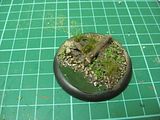
The bases are all done :)
The only thing that needs work are the base borders which now have residue of brown paint and envirotex. They will be done once the models are painted and properly positioned on the base (no point doing it now since i have to paint the facing makers in any case)
I'm happy with how they turned out :)
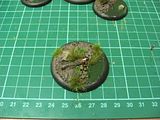

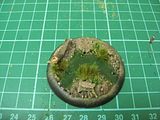

No comments:
Post a Comment